If you’re looking for a recipe that’s kid-friendly, budget-friendly, and quick to make, these oven-baked cheeseburger sliders are going to be a family favorite! They’re the perfect size for little hands, easy to pack into school lunchboxes, and cozy enough for a weeknight dinner.
Thank you for reading this post, don't forget to subscribe!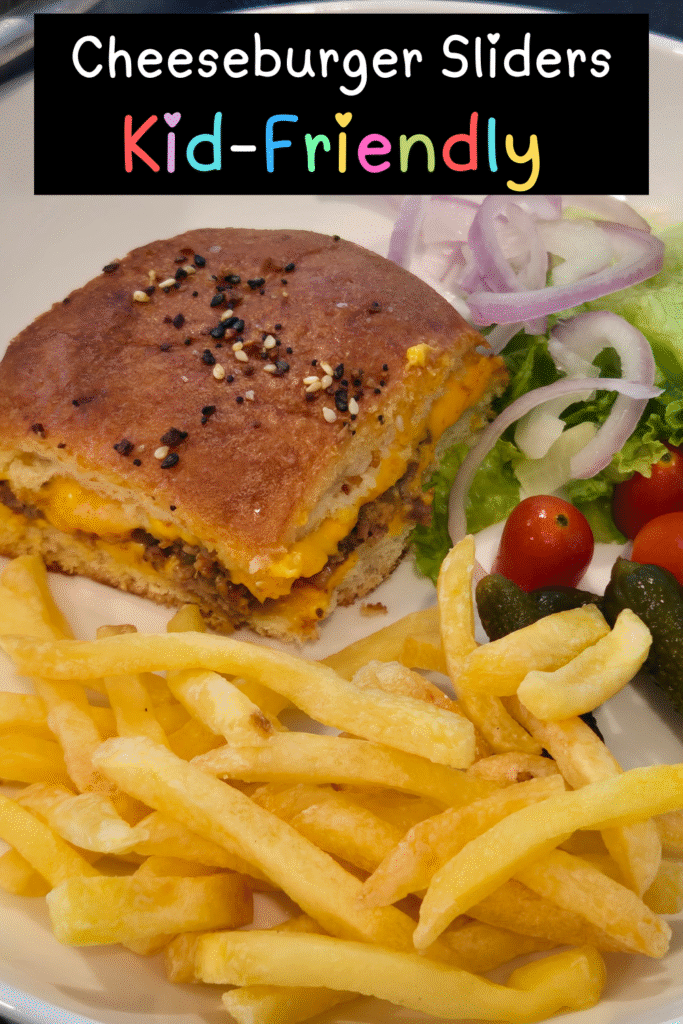
Why You’ll Love This Recipe
- ✅ Kid-friendly: cheesy, bite-sized, and fun!
- ✅ Perfect for meal prep: make a batch and pack them into lunchboxes.
- ✅ Simple ingredients: nothing fancy, just everyday staples.
- ✅ Quick and easy: ready in about 30 minutes.
Ingredients You’ll Need
- 1 lb ground beef
- ½ onion, finely chopped
- Salt, black pepper, garlic powder
- 2 tbsp ketchup
- 1 tsp mustard
- 8–10 soft slider rolls (or small sandwich rolls)
- 6–8 slices of American cheese
- 2 tbsp melted butter
- 1 tsp everything bagel seasoning
👉 Shop My Kitchen:
- Nonstick skillet 🍳
- Baking sheet + parchment paper
- Everything bagel seasoning
- Kid’s lunchbox containers
Step-by-Step Instructions
1. Cook the Beef
Start by browning the ground beef with chopped onion until the beef is cooked through. Season with salt, pepper, and garlic powder. Drain excess fat.
2. Add Flavor
Mix in ketchup and mustard. This helps bind the meat together and gives it that classic cheeseburger flavor.
3. Prep the Rolls
Slice your slider rolls in half. Scoop out a little of the bread inside to make room for the filling.
4. Assemble the Sliders
- Place a layer of cheese on the bottom rolls.
- Add the beef mixture evenly.
- Top with another layer of cheese.
- Place the top rolls back on.
5. Bake
Brush the tops with melted butter and sprinkle with everything bagel seasoning. Bake covered at 350°F for 15 minutes, then uncover and bake an additional 5–6 minutes until golden and melty.
Serving Ideas
- Pair with fries, pickles, and veggies for dinner.
- Pack into a school lunchbox with fruit and a healthy snack.
- Great for parties, game day, or family movie nights! 🎉
Storage & Meal Prep
- Store leftovers in the fridge up to 3 days.
- Reheat in the oven for best results.
- Pack cooled sliders into lunchboxes with an ice pack for school.
Final Thoughts
These cheeseburger sliders are cozy, cheesy, and guaranteed to put a smile on your kids’ faces. Whether you serve them for dinner or pack them into lunchboxes, they’re a recipe you’ll come back to again and again.
✨ If you try this recipe, leave me a comment below and let me know what you think. And don’t forget to check out my other kid-friendly lunchbox ideas here on the blog!